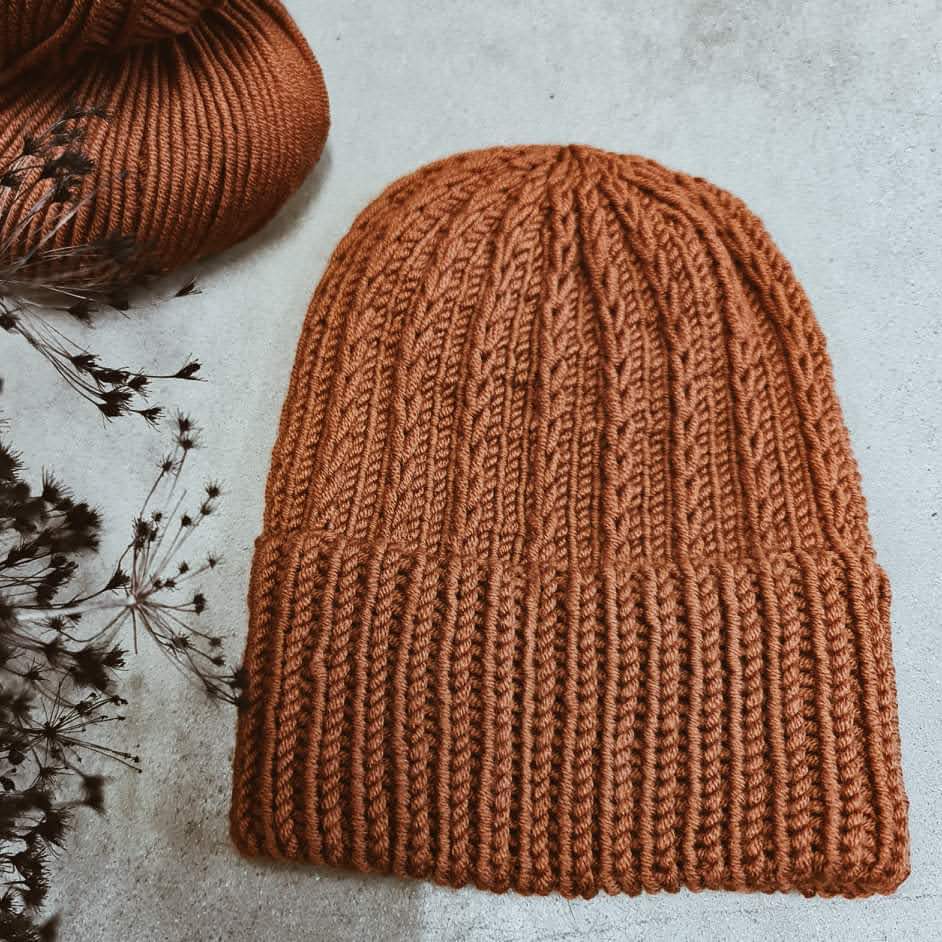
In many of our patterns, especially for hats, sweaters and trousers, a cuff is knitted extra long and then folded inwards and knitted tight so that the cuff is doubled in a fixed position at the end. You then continue knitting in pattern as normal.
The double cuff is particularly warm and a little more windproof (particularly important for hats and pullover collars), and in contrast to the loosely folded cuff it holds its position securely. When used in the hemline of trousers, the folded cuff creates a tunnel through which you can pull a cord or elastic.
You could also fold the cuff over at the end of the work and sew it inside. However, the method of knitting it directly into the next round makes it cleaner, more even and stretchy - plus you save on the work at the end as it's overcast directly!
At the end of this article we explain how to knit a ribbing at the end of a piece (e.g. trousers that are knitted bottom up and end with a double waistband).
Here you can see these instructions as a video (by Garnstudio/Drops Design), after which we explain the technique again step by step with pictures.
Here you will find all our patterns that use this technique: Models with double cuffs
Thats how it works:

Step 1: Knit the cuff twice as long as the desired end length. Mark the first stitch of the cast-on edge (= the beginning of the round) with a stitch marker and then sew up the thread end that was left over from the stitch cast-on before you fold the cuff over.

Step 2: Fold the cuff over so that the cast-on edge is on the inside. The stitch marker in the cast-on edge shows you the first stitch.
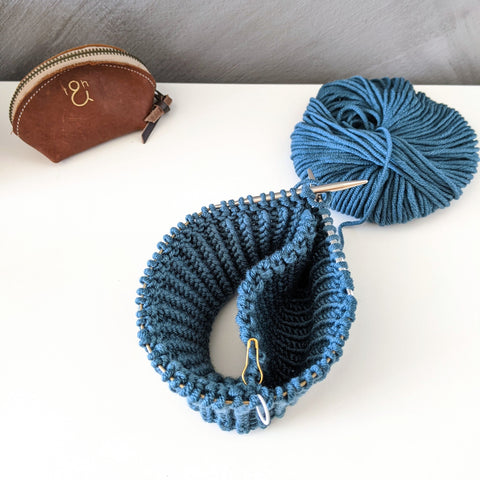
Step 3: Knit the cuff stitch by stitch. To do this, for each stitch that is on the needle, take the corresponding stitch from the cast-on edge onto the needle. Make sure that you don't slip, but get exactly the right stitch. Then knit both stitches (= the stitch lying on the needle and the stitch from the cast-on edge) together as one stitch. The cuff has already been knitted halfway in this picture, the left half is firmly knitted on, the right half is still open.
You always knit this round, even if you have knitted before or after in a rib pattern or with twisted stitches.

Step 4: Now the cuff is completely knitted. The stitch count has not changed. From here you can simply continue knitting according to the instructions.

For trouser cuffs or other cuffs where you want to pull in an elastic band at the end, we recommend that you do not knit the last 2-3 stitches of the cuff tightly together with the stitches from the cast-on edge as described above. Instead, simply knit these stitches normally so that there is a small hole on the inside of the cuff that you can then pull the ribbon through.
Knit holes for a cord

If you want to insert a knitted cord or ribbon to tie, such as with pants, you knit two holes in the cuff. Also for this you knit the cuff twice as long as the desired end length. The beginning of the round is (unless otherwise stated) in the center back. When you have knitted about 3/4 of this length, knit the first half of the stitches until 3 sts before mid front. Yarn over, K 2 tog, K 2 tog, K 2 tog and yarn over again. In the next round you knit the yarn overs so that there are two small holes through which you can pull the cord. Then finish the cuff normally and knit it double tight.
Double cuff to finish work
So far we have explained how to use this technique at the beginning of a work (for example a hat that is knitted bottom up or trousers that start at the top cuff). You can also knit this double cuff at the end of a work, for example when you start a pair of trousers at the trouser legs and finish with the cuff. The cuff is knitted tight and cast off in the same step:

Step 1: The trousers are knitted. The cuff is twice as long as the desired end length and is now folded over and knitted in place.

Step 2: For each stitch on the needle, take the corresponding stitch from the beginning of the cuff onto the needle and knit both together. When you have worked the first two stitches of the round like this, bind off the first stitch by slipping it over the second. Double knit the third stitch on the round, then bind off the second, and so on, double knitting and binding off the rib in one step.
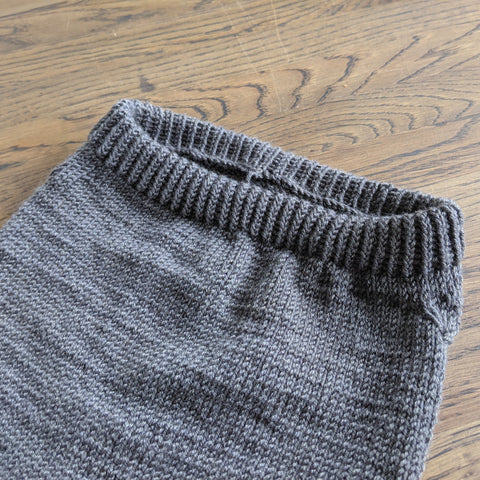
Step 3: The cuff is fixed and bound off.
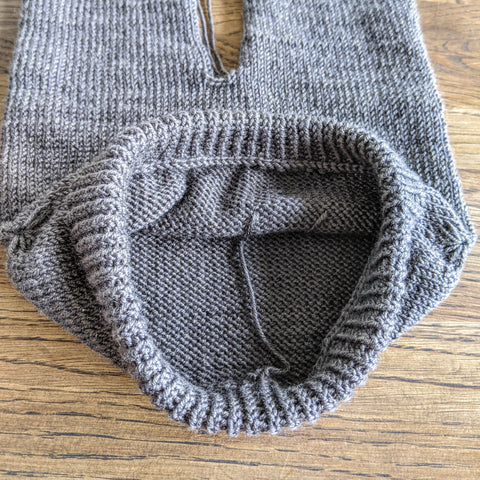
By not picking up the stitches from the cuff for the last 4 stitches, but knitting these 4 stitches normally and binding off, there is a small hole at this point through which you can later thread a rubber band.
