Knitting tips and tricks
Here you will find information on the individual steps in our instructions and on knitting in general.
We have written detailed instructions on some topics in our own blog posts. You can find them here:
Tech Blog
Knit sweaters or jackets as a raglan from the bottom up
Overview
gauge
Dimensions
cast on stitches
Knit and purl stitches
Cast off stitches
neckline
Knit a cuff folded over
raglan increases
Pick up new stitches under the arms
Change threads and sew
stitch marker
Washing a finished piece of knitting
gauge
Gauge plays a big role when choosing the size for a knit. It tells you how many stitches you need to knit to reach a certain length or height, and it is absolutely necessary that your own gauge matches that in the pattern so that the final knitted piece has the same measurements as given in the pattern .

To determine your own knitting gauge, knit a sufficiently large test piece – at least 15 cm wide, and usually, unless otherwise stated, in the yarn that you want to use for the knitted piece and the desired needle size. The height is usually not important in our patterns, since heights are usually given in cm and not in rows, but the piece should be approx. 10-15 cm high so that the stitches have reached their natural width and not from the cuff together or being pulled apart by the needles. Now measure in the middle of your test piece how many stitches you get per 10 cm wide and compare this number with the number given in the pattern.
If you get the same number, you can continue working with the recommended needle size and should end up with the same dimensions as in the pattern. If you have more stitches per 10 cm than indicated in the pattern, you are knitting tighter than intended and should use thicker needles. If you have fewer stitches than indicated, knit more loosely and it is best to switch to thinner needles. Keep trying until you get the same gauge as shown in the pattern. With increasing experience, you also know better how you knit yourself and you know directly which needle size you need for which yarn in order to get the desired result.
Recommendations for the stitch gauge and needle size can usually also be found on the banderole of your wool. These are standardized guidelines that do not apply to everyone in the same way: For example, a needle size of 3.5 mm is recommended for Sandnes Smart wool. When Sjöfn Smart knits at 3.5, the result is windproof and bulletproof as it knits extremely tight. The translator Leonie, on the other hand, knits quite loosely and would rather use a needle size 3.0 to get a good result. Nevertheless, this information is a good guideline, because over time you will know how to knit yourself compared to the standardized gauge and can choose the right needles directly.
Stroff Knitting's instructions are based on the standardized gauge specified by the yarn manufacturer. If you are unsure, make your own test - and especially at the beginning we recommend measuring your work from time to time, since beginners often still knit irregularly and may knit differently at the beginning of a knitted piece than in the middle when they got into the rhythm.
Dimensions
 The measurements of a knitted piece give important clues when choosing the size. The chest size is determined by measuring and doubling the width of the body, the same applies to the sleeve size, which is measured at the widest part of the sleeve and doubled. We recommend not going purely by our recommendations for each size, but rather measuring the recipient of the piece to determine the correct size. For children's sweaters, the child is measured at the thickest part of the upper body (below the shoulders) and the size selected is a few cm wider in circumference than the measurement result.
Especially when knitting as a raglan from above (RVO), which we use for most of our sweaters and jackets, it is very easy to adjust the size again individually. The specified number of stitches in the neck band and the number of raglan increases determine the circumference of the knitted piece. Here you should orient yourself to the right size for you in the instructions. There we also indicate the length of the body and sleeves, which you can use as a guideline: if the piece has reached the specified length, it is always advisable to try it on. With sweaters, you can distribute the stitches on the needle over two long circular knitting needles or secure part of the stitches on an auxiliary thread so that you can pull it on. This allows you to see exactly whether the length is right for you, or whether you should knit the piece shorter or longer than specified. Keep in mind that most sweaters get a little longer in the wash - and then become shorter and wider again over time when worn.
For hats, measure the child's head circumference and then select a size with a slightly smaller circumference so that the hat fits snugly on the head - so if the head circumference is 50 cm, a hat with a circumference of approx. 45 cm is recommended.
cast on stitches
There are many different ways to cast on stitches at the beginning of a knitted piece. We don't specify this in our patterns, you can always use the same standard method (see box). Especially at the beginning you like to cast on the stitches very tightly and then have problems knitting the first row. To avoid this, you can work the stitch cast-on with a slightly thicker needle than in the rest of the knitted piece - if you want to knit with a needle size 4, for example, use a size 4.5 for the stitch cast-on and switch back to NS in the first knitted row 4. Alternatively, you can cast on the stitches on two needles held together and pull out one of the two needles at the end. This gives you a loose cast-on edge that you can continue working with.
Knit and purl stitches
All knits are based on knit and purl stitches. The pullover and the hat in this pattern are worked in stockinette stitch in the round, so they consist almost entirely of knit stitches, except for the cuffs. Here, knit and purl stitches are knitted alternately to create an elastic rib pattern.
Cast off stitches
At the end of a piece of knitting, you have to cast off the active stitches one after the other until there are none left on the needle. Be careful not to cast off too tightly so that the edge doesn't become too tight, especially at the neckline or cuffs. Try to knit the cast-off edge as tightly or loosely as the rest of your knitted piece.
As with cast-on, there are many different methods. Here we show you the most common ones that can be used for all our patterns:
Knit 2 stitches regular. Then pull the first stitch over the second so that only the second stitch is on the right needle. Knit another stitch and pass the first stitch over the second stitch you just knitted. Cast off all stitches on the needle in this way until there is only one stitch left on the needle. Cut the thread and pull the end through the last stitch to secure it.
With this method, you can knit all stitches before casting off, or in pattern. If you only K knit, you will get a straight edge, reminiscent of a braid (pic 1). If you bind off a rib (alternately K 1, P 1), we usually recommend knitting the stitches you bind off in rib as well (pictures 2 and 3). As a result, the stitches fit better into the overall picture and the finish is a bit more elastic - but in the end it's also a matter of taste.


neckline
The neckline is the top part of a sweater. If you start at the top, you have to be extra careful not to cast on the stitches too tightly so that the head fits well through the neckline. If you knit the jumper bottom up (not in this pattern), you have to be careful not to cast off too tightly.
The neckline is often worked in a simple rib, but other patterns can also be worked in, such as moss stitch or garter stitch. If you knit it in stockinette st, you get a rolled cuff. The recommended way of knitting the neckline is explained in the respective instructions, but can also be varied according to taste.
Knit a cuff folded over
 In many of our patterns, especially for hats, sweaters and trousers, a cuff is knitted extra long and then folded inwards and knitted tight so that the cuff is doubled at the end. Then continue knitting in pattern as usual. The double cuff is therefore particularly warm and a little more windproof (particularly important for hats and pullover collars), and in contrast to the loosely folded cuff it cannot slip. With trouser cuffs, the folded cuff creates a drawstring through which you can pull a cord or elastic.
You could also fold the cuff over at the end of the work and sew it inside - but the method of knitting it directly with the next round makes it cleaner, more even and more elastic - you also save the work at the end because it is overcast directly!
Thats how it works:


Image 2: The cuff is folded over so that the cast-on edge is on the inside.


Image 4: Now the cuff is fixed completely folded down. The number of stitches has not changed, now continue knitting in the pattern as usual.
raglan increases
Most of our sweaters and jackets are so-called raglan sweaters. They are knitted in one piece, usually top down. After the neckline, increases are made in four places in every second row, making the sweater wider towards the bottom, forming four clear lines between the shoulders and the body. These lines are called raglan lines.
There are several ways to work these increases. We often use M1R, M1L. Here the new stitches from the cross thread are picked up between two stitches and knitted twisted so that no holes form.
In other patterns we work the increases with yarn overs, which are knitted in such a way that a decorative lace pattern forms along the raglan lines. Note that the back row is purled after the yarn overs in the video. In closed sweaters we knit stockinette stitch in the round, so all yarn overs are simply knitted like regular stitches, creating a hole.
Pick up new stitches under the arms
When the upper part of the sweater is finished, lay the stitches on hold for the sleeves and cast on new stitches to create more space for the arms. These new stitches belong to the body and are knitted as part of the round. When you then start the sleeves, new stitches are picked up on the cast-on edge of these stitches, which are counted as sleeve stitches. This directly closes the hole under the arm. If you don't trust yourself to pick up the stitches at the edge at the beginning, you can cast on the same number of stitches again on the sleeve and sew up the hole that this creates under the sleeves at the end. However, this is rather additional work and we recommend picking up the stitches directly from the first cast-on edge.
Change threads and sew
When the first ball of yarn is used up or you want to change the color, you have to carefully work the transition from the old to the new thread. It's not enough to simply let the old thread hang, start with the new one and knot or sew the two together at the end - this often creates holes in the knitted piece or it gets puckered at the point, which is especially the case with stocking stitch pieces notices.
There are many ways to make this transition neat, and again, everyone will find their favorite method over time. The easiest method, which we also use in our patterns, is simply to knit a few stitches (about 3-7) with double yarn, ie the old and the new at the same time. The knitted piece is a touch thicker at this point, but this is not noticeable in most cases. Then just continue knitting with the new thread and carefully sew up both thread ends at the end so that nothing comes loose.
At the end of the work, all loose threads must be sewn up. There are countless ways to do this and in the end everyone will find their own style - but it is always important that the threads are not visible on the front and that they do not distort the knitted piece.
You should never just take two loose thread ends and knot them. These knots tend to find their way onto the front of the knit and are too noticeable. If you also cut the threads too tightly, there is a high risk that the knot will come loose (especially in the wash) and you will have a hole in the knitting that will be difficult to close again.
stitch marker
 Stitch markers are small rings or loops that you can use to mark different parts of your knitted piece. Basically there are closed markers, which cannot be opened and are only used to hang them on the hook between two stitches and which move up each round or row, and open markers (often in the form of paperclips or safety pins ), which you either hang closed on the needle, or open and put into a certain stitch.
With these markers you mark the places in the knitted piece where you, for example, work increases for the raglan lines, start or end a pattern, or work decreases on the sleeves so that you knit the second sleeve exactly the same. Often you also hang a marker on the needle to mark the beginning of the round.
In our instructions we state exactly whether the stitch marker should be inserted into a stitch or whether it should hang between two stitches on the needle. Pay attention to this distinction and follow our instructions, as we use the markers for orientation in the instructions. If they are in a different position than specified, this can quickly lead to errors.
There are countless designs, from practical to decorative. At first, you can get by with a knotted piece of thread, a small hair tie, or a safety pin, but it's a good idea to have markers of different colors or shapes to mark different places in your work.


These pictures show how we use our stitch markers: In the first picture , four black markers (rings that cannot be opened) are hanging between two stitches on the needle, so they are lifted and carried with you every round. They mark the four places where stitches are increased in the raglan yoke. The fifth marker in white marks the beginning of the round. It also hangs between two stitches on the needle.
In the second picture, a marker (a kind of safety pin to open) is stuck directly into the top raglan stitch of a sweater. He always stays firmly stuck in this mesh and is not moved. If you have trouble spotting the raglan stitch, you can put a marker on the needle before and after the raglan stitch instead. Since it is rather cumbersome to keep taking these two markers off again and again, it is easier for experienced knitters to put a marker in the top stitch. As the knitting progresses, you can then see the raglan stitch even without a marker.
The third picture shows a sleeve. Here, stitches are often removed at regular intervals. So that these decreases are in the same place on both sleeves, we like to mark them on the first sleeve with stitch markers that we put directly into the stitches.
Washing a finished piece of knitting
When your piece is finished knitting, it needs to be washed. When the piece is finished, sew up the threads and fasten the buttons. How you then wash the piece depends on the shape and especially the material:
Many yarns containing wool (e.g. Katia Merino 100%, Merino Sport or Merino Baby) are superwash treated. This is a special coating that allows washing in the washing machine. Nevertheless, use a wool detergent and a gentle wash cycle with a maximum of 30°C. If possible, test your machine with a test piece first. Handwashing these yarns is not recommended, especially for larger pieces such as sweaters or jackets, as handwashing can cause pieces to stretch quickly and grow a few sizes.
Other yarns that are not superwash-treated should never be washed on the normal wash program of the washing machine, as they can become matted quickly.
We wash almost all knitwear ourselves in the wool program of the washing machine, or simply in the rinse cycle with a low spin speed (400-800). It is important to prevent temperature fluctuations and therefore only wash with cold water or a maximum of 20°C. Use a special wool detergent. Fabric softener is never recommended for wool as it can damage the fibers and cause the wool to stretch out.
We often wash merino or blended yarns in a laundry net so that the piece does not become warped in the machine. Pieces with mohair, on the other hand, should not be washed in a net, as the mohair in them can quickly become matted.
When the piece is washed, it needs to be dried properly. When it comes out of the wash dripping wet, we wrap it in a large towel to soak up most of the water. Then the piece is spread out on a second, dry towel and pulled into shape - here it is very important that there are no unwanted creases or puckers, and that the button placket and cuffs in particular are smooth and tidy. The piece is then dried lying flat. The fastest way to do this is of course on underfloor heating, but alternatively simply on a drying rack (on a towel so that the grid does not leave any lines), or on the floor.
With classic knitting instructions, the finished knitted piece should be stretched after washing. This is particularly important for large shawls with a lace pattern, which is the only way to unfold their pattern, or for sweaters that are knitted from individual parts and then sewn together. Our designs, on the other hand, don't need to be stretched as they are mostly knitted in one piece with no seams. Here it is enough to put them in a good shape after washing.
There are many reasons why you should wash a fresh piece of knitwear: In the first wash, excess dye, dust and dirt that has accumulated in the shop or during knitting are washed out again. The wool relaxes and, depending on the yarn composition, becomes even fluffier and softer. The mesh structure becomes more regular and the hole patterns in particular only really open up in the wash. Some pieces become a little longer in the wash and only then achieve their final dimensions.
-
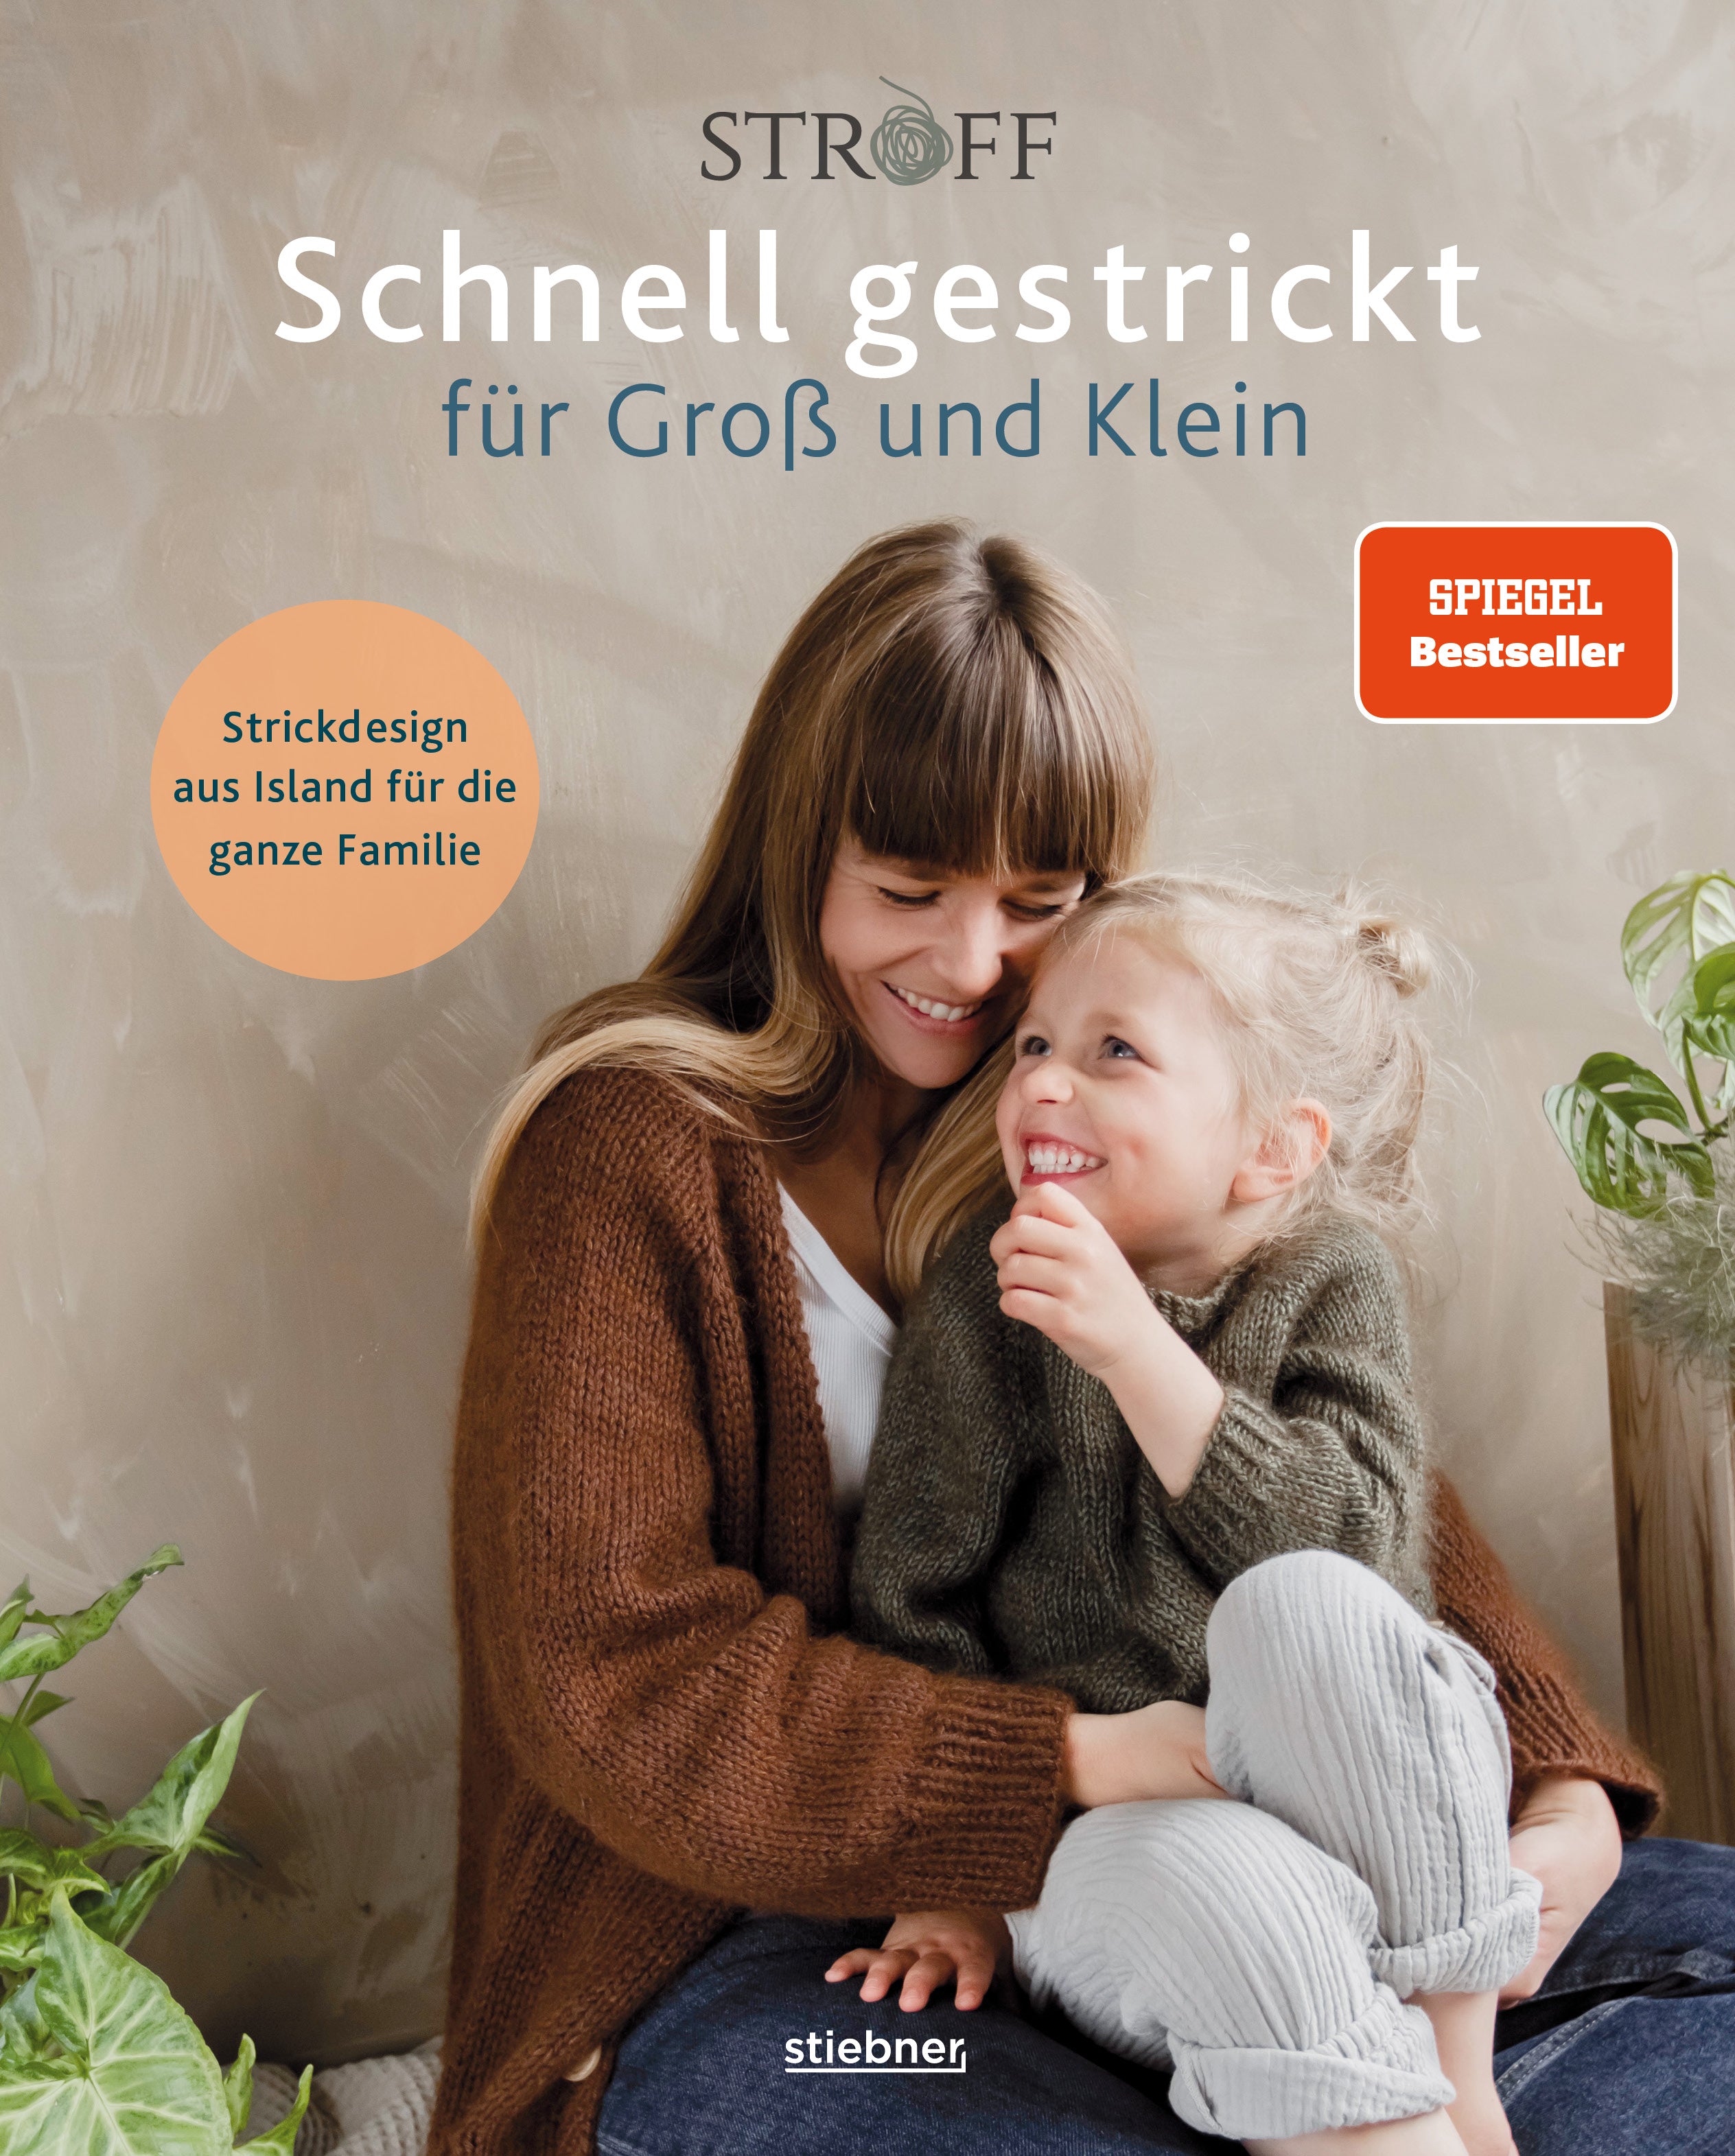
Schnell gestrickt für Groß und Klein
Learn moreOur first big success on the German book market: Our first volume with our most popular instructions - which immediately became a Spiegel bestseller!
-
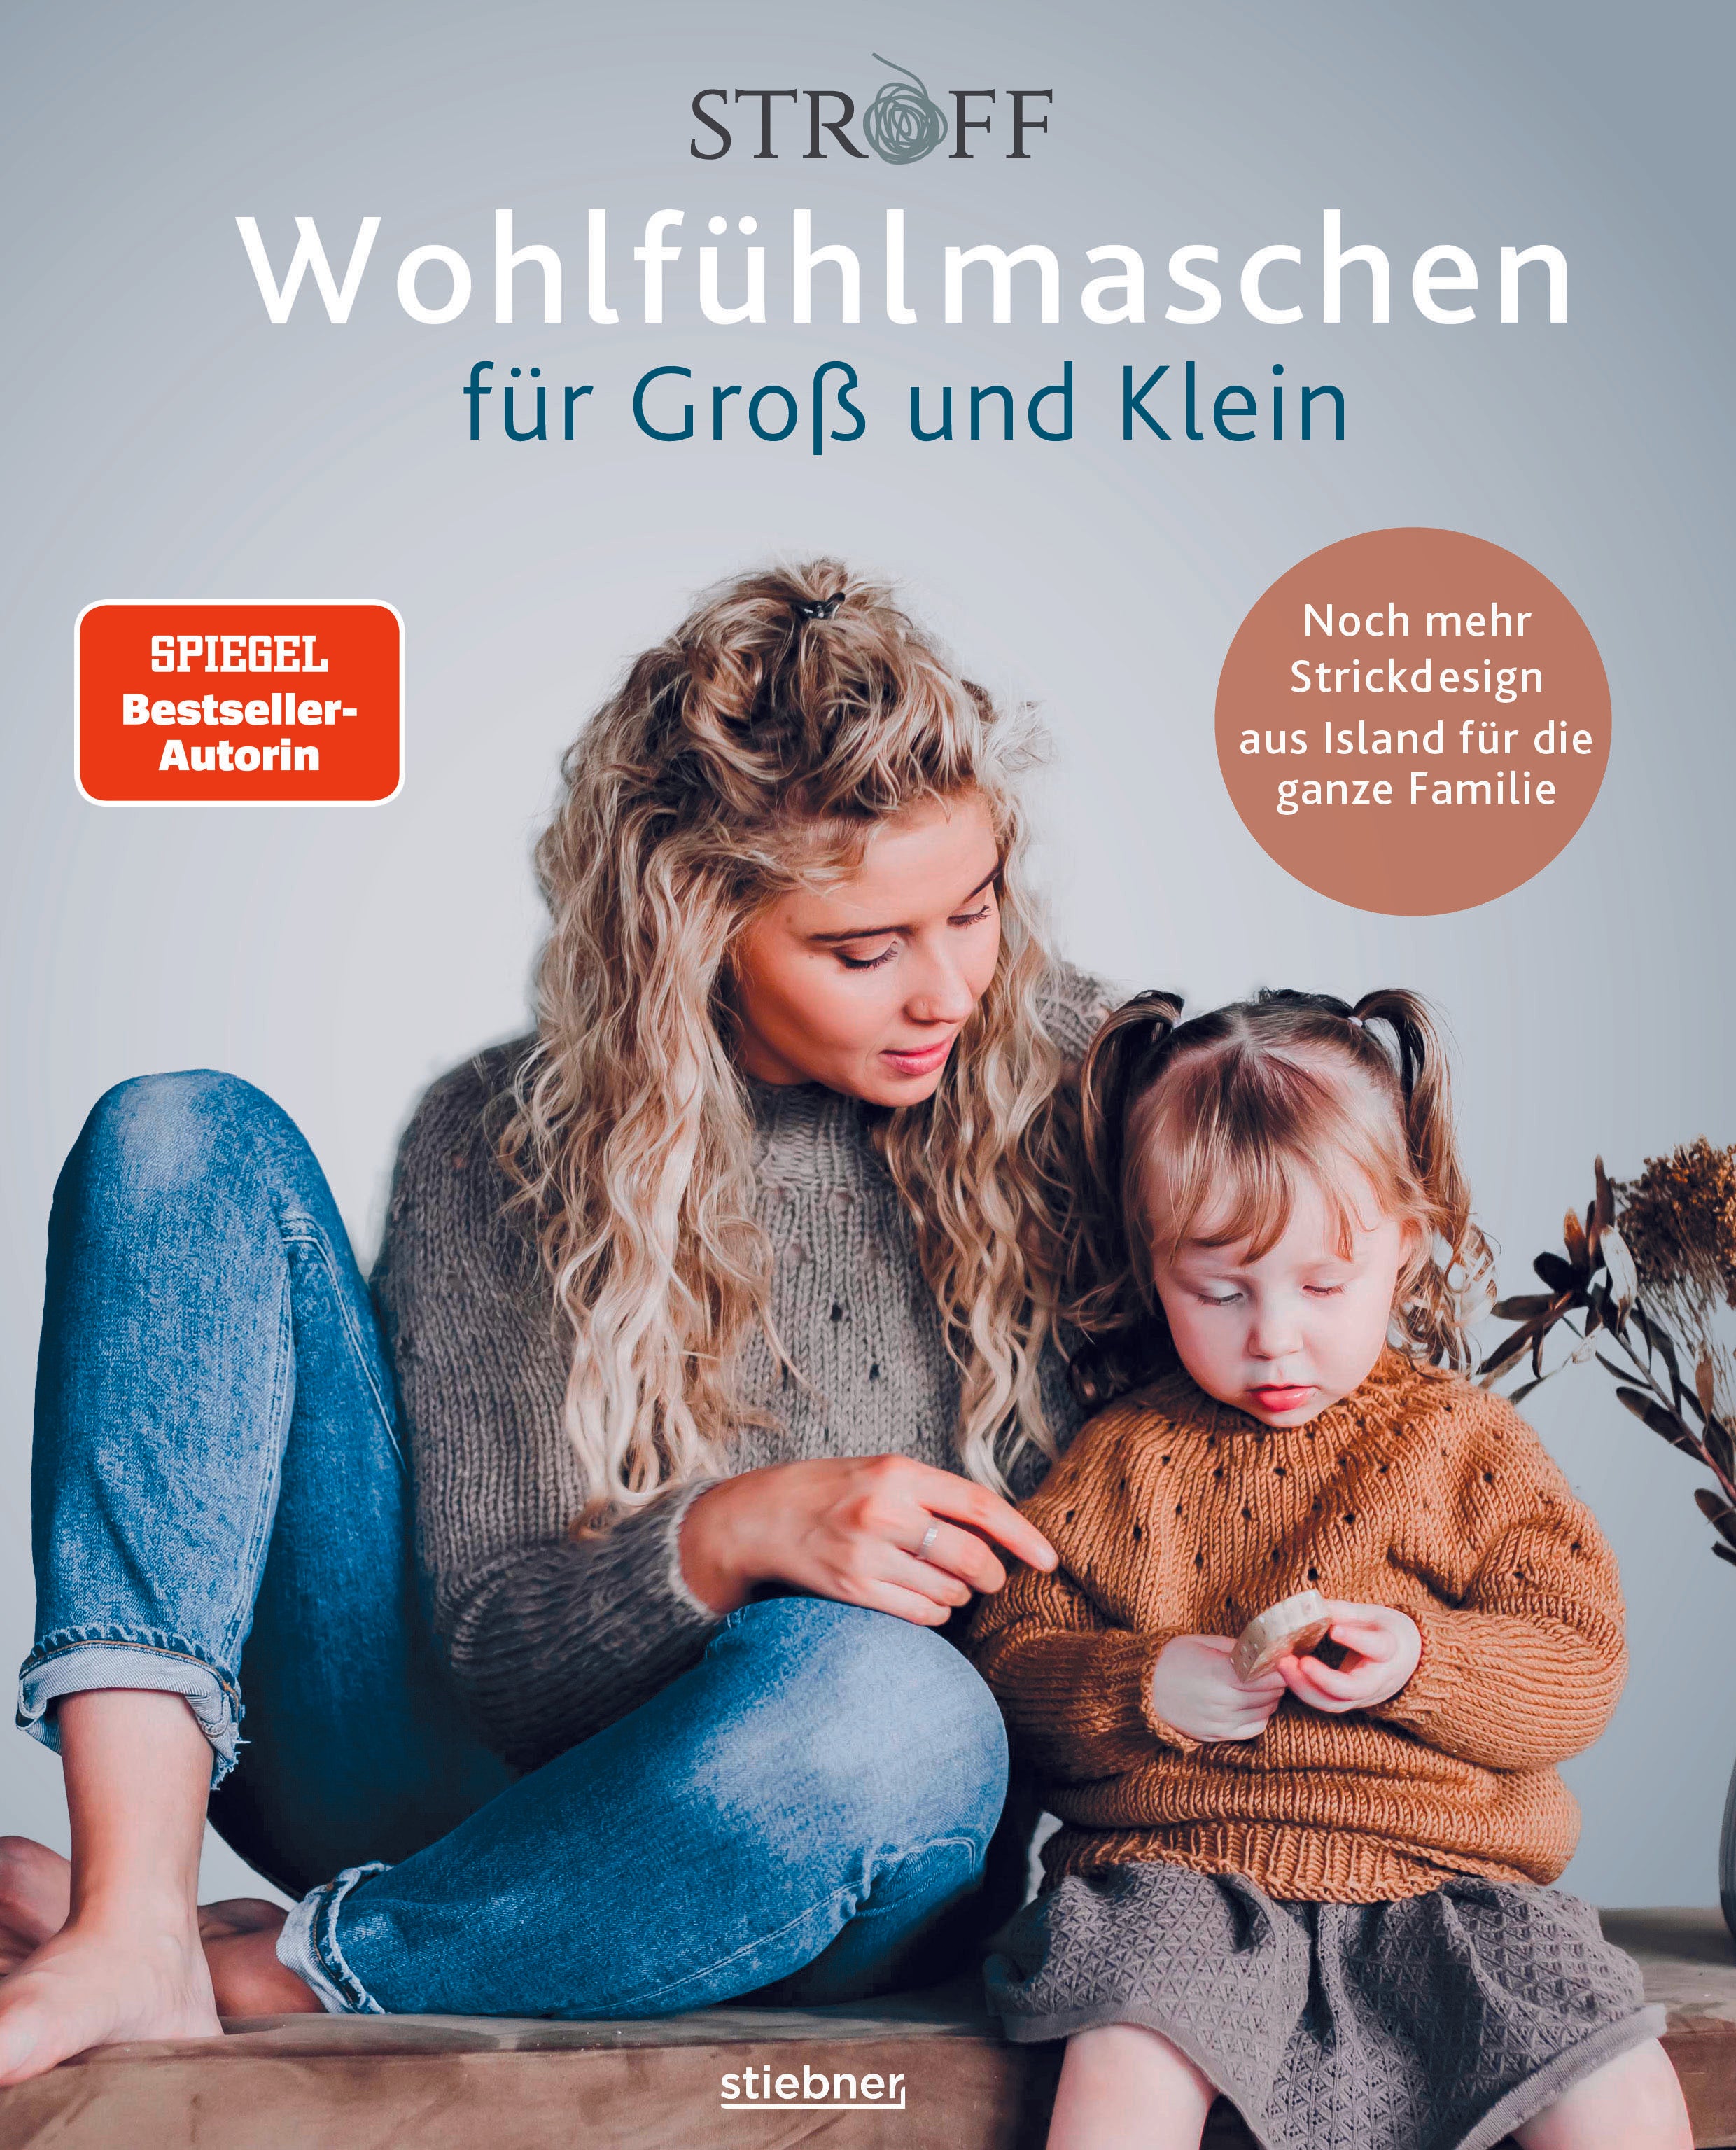
Wohlfühlmaschen für Groß und Klein
Learn moreThe follow-up volume with over 30 models for babies, children and adults - jackets, sweaters, accessories in all sizes.
This book was published in September 2023.
-

Leicht gestrickt für Groß und Klein
Mehr erfahrenUnser dritter Band, mit 37 Modellen für die ganze Familie. Einzelstücke und Sets, mit besonderem Fokus auf Lochmuster, luftige Maschen und flauschige Garne.
Dieser Band wird im September 2024 erscheinen.


