Many of our jackets and sweaters are knitted as a raglan, ie all in one piece, without seams. Most models are knitted as a raglan from above (RVO) from top to bottom.
Less common in Germany, but particularly widespread in Scandinavia is the raglan from below (RVU) . Here you start at the bottom cuff and knit body and sleeves separately until you join them on one needle at armpit height and knit them together over the raglan yoke to the neck cuff.
Our older models in particular, including our favorites Butterblume, Dögg or Hekla, are knitted this way. Here we present the technology again in detail. An overview of all instructions that are knitted as a raglan from below can be found here: Raglan from below (RVU)

Step 1: Sleeves and body are knitted separately. When the sleeves are finished, slip some stitches on a stitch holder on the inside of the sleeve. With this baby jacket, there are 6 stitches per sleeve. So that they are centered on the inside, we have put the first 3 and the last 3 stitches of the round on hold here. The remaining sleeve stitches lie on stitch holders, double pointed needles or circular knitting needles.

Step 2: Mark the position of the sleeves in the body with stitch markers, which you hang between the stitches on the needle. On the next row/round from the right side, the sleeves are worked to the body at these stitch markers. There should be as many stitches between the stitch markers as you have put on hold in the sleeves, i.e. 6 stitches in this case.

Step 3: Knit the next row/round from the right side in the body to the first stitch marker that marks the beginning of the sleeve. Place the stitches between the two markers on a guide thread. Here are the 6 stitches to match the 6 stitches we left on the sleeve.

Step 4: Now take the first sleeve and put the sleeve stitches back onto a circular needle/double pointed needles. The looped stitches on the auxiliary thread remain on the thread.
Now knit the sleeve stitches onto the needle with the normal working thread to the body stitches. The stitches from the body and sleeves (here 6 stitches each) are now next to each other under the sleeve. A hole forms here, which you close at the end.
Then continue knitting the body normally until you reach the stitch marker that marks the second sleeve line. Knit the second sleeve to the body and finish the row/round.
The first 2-3 rows/rounds after joining the sleeves and body are often a little tight and difficult, because the sleeve stitches don't want to be pulled over the long needle. You can help yourself here by spreading the stitches on double pointed needles, but this is usually not necessary - you may have to use a little force here, but after the first few rounds the problem solves itself.

Step 5: Now you have knitted both sleeves to the body. The disused stitches from the body and sleeves are still on auxiliary threads under the arm. These holes will eventually be closed.
From here you knit the raglan yoke over body and sleeve stitches in one piece. Mark where the sleeves meet the body with stitch markers (four markers total, two in front and two in back). From now on you decrease stitches in each row from the right side or in every second round by knitting 2 stitches together before and after each stitch marker. So you dec 2 sts at each marker and reduce the number of stitches by 8 sts in every row from the right side/every other round.

Step 6: Here you can see the finished raglan yoke. The arrows mark where you decreased on each row from the right side. This creates the raglan lines, which are more or less prominent depending on the pattern and type of decrease. Finally, all that remains is to close the hole under the arms.

Step 7: To close the hole under the arms, the stitches on the auxiliary threads are put back on two needles. Since the stitches often warp a little at this point, small holes tend to appear on both sides. We avoid this by picking up an additional stitch on each side from the gap between the stitches on the standstill and the main part. We originally set aside 6 stitches on both sides here, but with the extra stitches we now have 8 stitches per needle.

Step 8: Close the hole. Here I sewed up the hole with the slip stitch. There are many videos on YouTube about this, I used this one:
If you have problems with the stitch, you can also knit the stitches together: I turn the jacket inside out and join the stitches, which are on 2 needles here, on one by alternating one stitch from each needle onto a third needle lift. At the end there are 2x8, ie 16 stitches on the needle, always alternating one per side, so that the hole is closed. Then I always knit 2 sts together and bind them off directly until I have knitted and cast off all stitches. This closes the hole neatly, but the cast-off edge creates a thicker seam on the inside. The stitch stitch method is more elegant but also a bit more complicated.

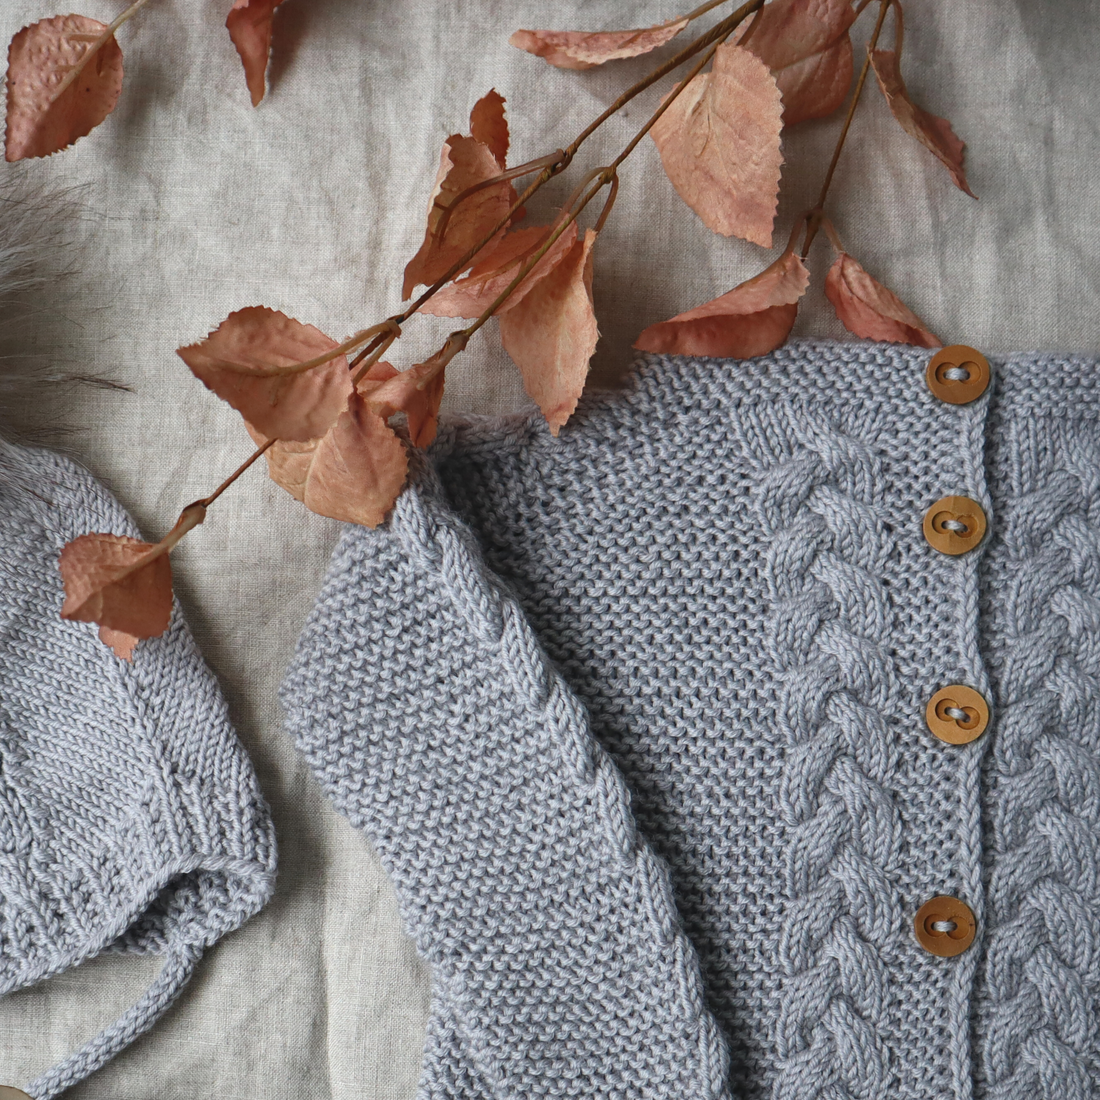
Step 9: The raglan from below is done! Visually, it can hardly be distinguished from a raglan when viewed from above (you can see it best in the orientation of the stitches in the raglan decreases - in this garter-knitted jacket it is only noticeable with the stocking stitches in the cable pattern).
Even though most of our models are now knitted as RVO (raglan from the top), it is worth trying this technique too!