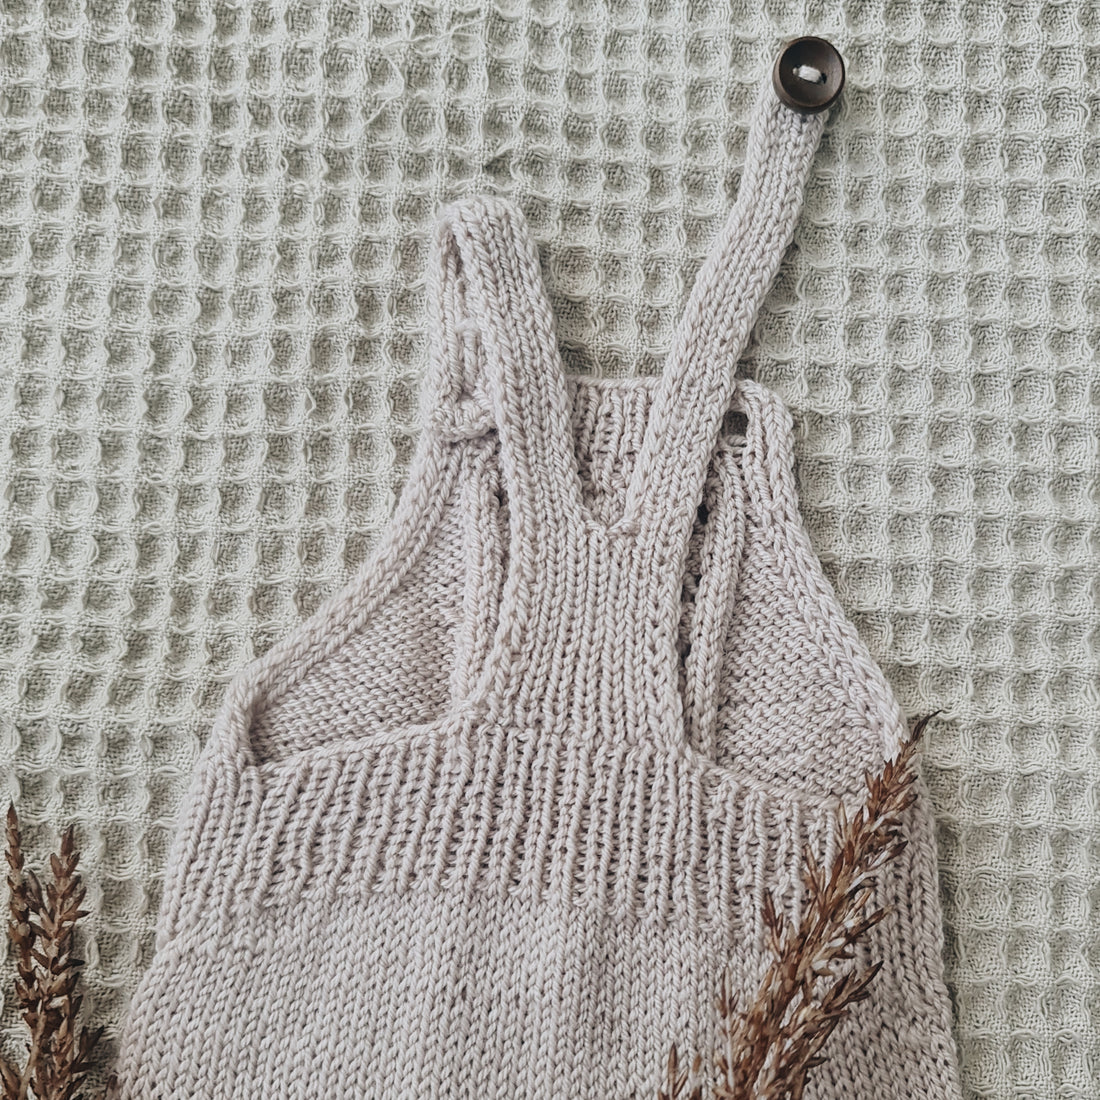
Many of our patterns contain short rows that shape the knitted piece. As the name suggests, short rows only knit over part of the round or row. We use shortened rows, especially in the shoulder area of sweaters to raise the neckline slightly, or in baby trousers to create more space for a diaper.
With short rows we knit part of the row/round, then turn the work and knit back the wrong side row. If we simply turn the work and continue knitting normally, there will be holes at this point. To avoid these holes, we use special turning stitches. There are many different ways to do this. We always knit our shortened rows with the so-called double stitch . This type of shortened rows is also called "German Short Rows" in English.
Here we show you two variants of these shortened stitches, both of which give the same result - the first variant is the one we use in our instructions. The second is a slight variation (we slip the last stitch before turning the work) that becomes a little more fluid and quick with practice.
Version 1:
(Click on "Full Screen" in the bottom right corner of the video to see the video larger.)
1st row (right side): Knit according to the instructions up to the first turning point. Turn the work.
2nd row (wrong row): Lifts the last knitted stitch onto the right needle as if to purl. Now pull the thread from front to back over the needle so that the slipped stitch is pulled over the needle and both stitch legs lie on the needle like two stitches. Pull the thread tight so that this point does not become too loose and knit the wrong side row back to the next turning point. Turn the work.
3rd row (right side): Lift the last knitted stitch as if to purl, with the yarn in front of the needle, onto the right needle. Pull the thread back over the needle from front to back so that the stitch is stretched out like two stitches on the needle. Pull the thread tight again and knit the right side row to the next turning point. Turn the work.
Repeat rows 2 and 3 until you have knit the required number of short stitches. This made the place where you knit the shortened stitches higher than the rest of your work. When you have finished the shortened stitches, you knit over all stitches of the row/round again.
Variant 2:
1st row (right side): Knit to the first marked turning point. When you have reached the point, you push the last knitted stitch with the thread behind the work back onto the left needle. Then turn the work and pull the working thread over the needle from front to back. As a result, the slipped stitch is pulled out, both stitch legs lie on the needle like two single stitches and the thread lies behind the work. Pull the thread tight.
2nd row (back row): Knits the back row to the next turning point. Here, too, you push the last knitted stitch with the thread behind the work back onto the left needle, turn the work and pull the thread from front to back over the needle so that a double stitch is created here as well. Pull the thread tight.
Repeat these steps as many times as indicated. If you knit beyond a turning point, the double stitch will be knitted off as one stitch - so you don't knit both stitch legs that are on the needle like two single stitches, but knit both together as one stitch.
If you knit over the double stitches that have formed at the turning points in the next rows/rounds, these stitches must be knitted together as one stitch: If you do not knit each leg as a single stitch, then you would stitches at this point increase - you knit both loops together as one stitch, as if you were knitting two stitches together. This means that there are no holes at the turning points.