
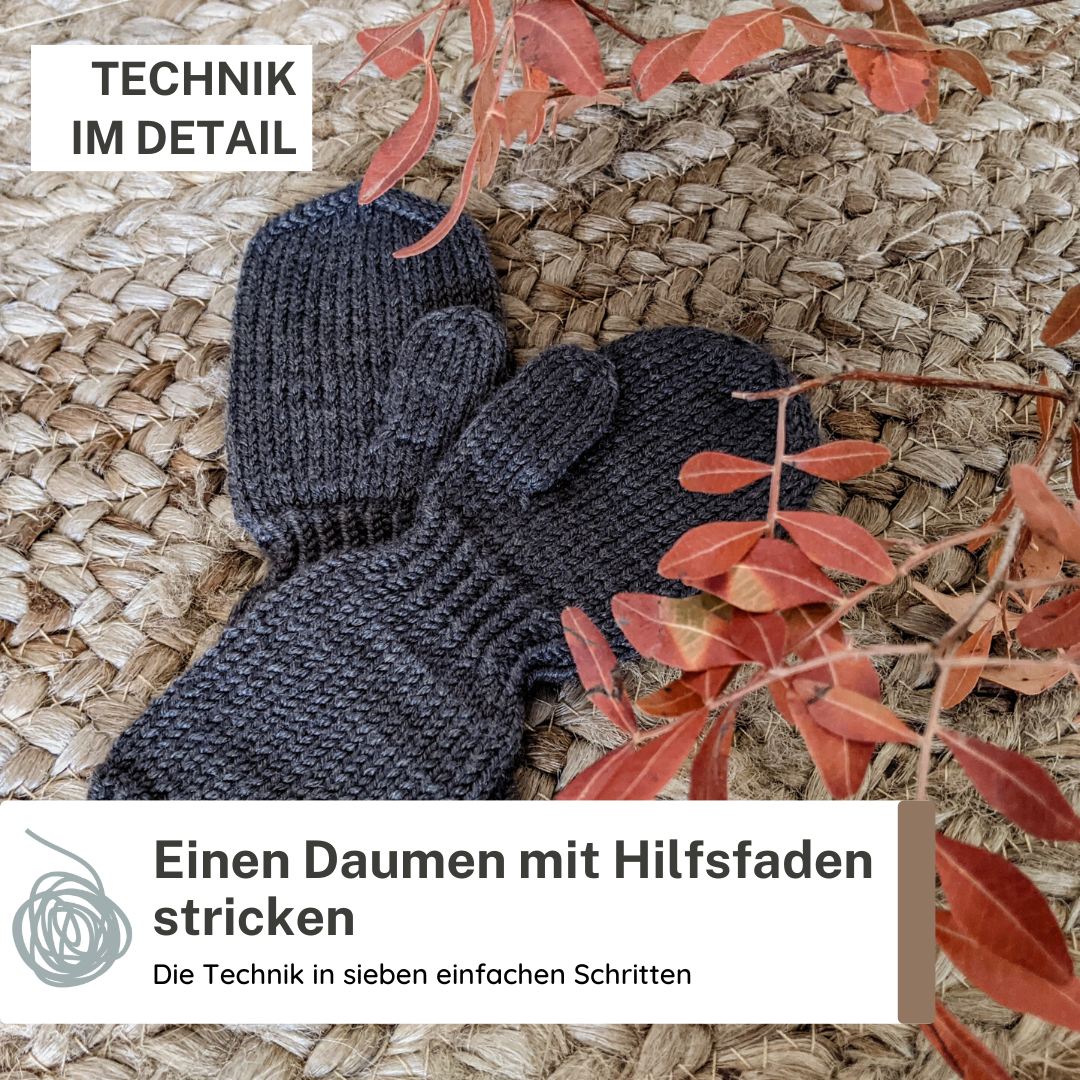
There are many methods to work a thumb on gloves. We mostly use the method with the auxiliary thread:
The glove is knitted up to where the thumb should begin. Here a few stitches are knitted with an auxiliary thread and then directly knitted again with the working thread so that the auxiliary thread is knitted in firmly. The glove is first knitted normally according to the instructions.
Then the auxiliary thread is removed. The thumb is now knitted from the open stitches.
This technique has the advantage that the thumb does not interrupt a pattern, so it is often used with complicated color or stitch patterns. With gloves for babies, the thumb can easily be omitted by simply skipping the step with the auxiliary thread. We also use the thumb with auxiliary thread for larger sizes because it is so uncomplicated and fits well.
Incidentally, this technique can also be used to knit heels into socks or ears into hats!
Here we show the technique in detail:

Step 1: Knit according to the instructions to the indicated position of the thumb.
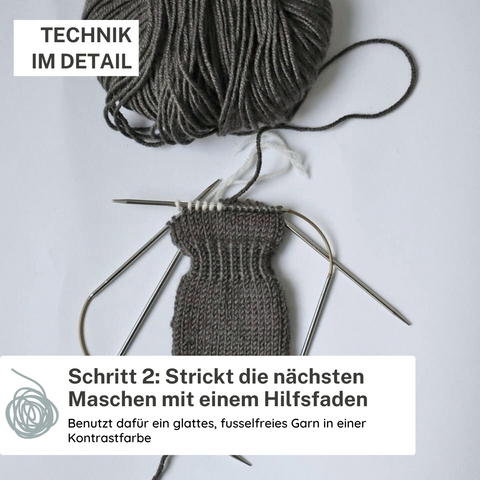
Step 2: Knit the next stitches with a stitch holder. Use a smooth, lint-free yarn in a contrasting color, if possible the same strength as the working yarn.
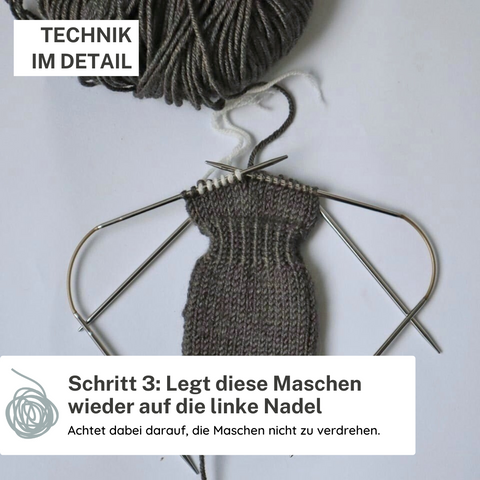
Step 3: Slip the stitches you just knitted back onto the left needle without twisting them.

Step 4: Now knit these stitches again with the main thread. The auxiliary thread is now firmly knitted in and fixed. Finish knitting the glove according to the instructions.

Step 5: Now pick up as many stitches above and below the auxiliary thread as you have knitted with the auxiliary thread.

Step 6: Now remove the auxiliary thread. To avoid holes at the transition, we pick up an additional stitch on each side and knit them together with the next stitch in the next step so that the number of stitches is correct again.

Step 7: Knit the thumb according to the instructions. In the first round, make sure that the stitches are not twisted on the needle so that your thumb fits seamlessly into the stitch pattern.

Complete! If there are holes on the sides, you can sew them up with a piece of thread - then knit the second glove in the same way, but don't forget to place your thumb here on the other side!