
Anyone who has ever knitted a raglan sweater from top to bottom knows the problem: sleeves and body have been divided, the body is knitted, now it's time for the sleeves. The shoulder stitches are on the needle, new stitches for the sleeve have been picked up from the body stitches that you cast on under the arm, and now you could get started - if there weren't the holes that we like to have at the transitions between the shoulder stitches and the newly picked up underarm stitches.
These holes can hardly be avoided - at this point so many forces act on the stitches that they easily distort and form these holes. But you can close them with a very simple trick, which we show you here with pictures.
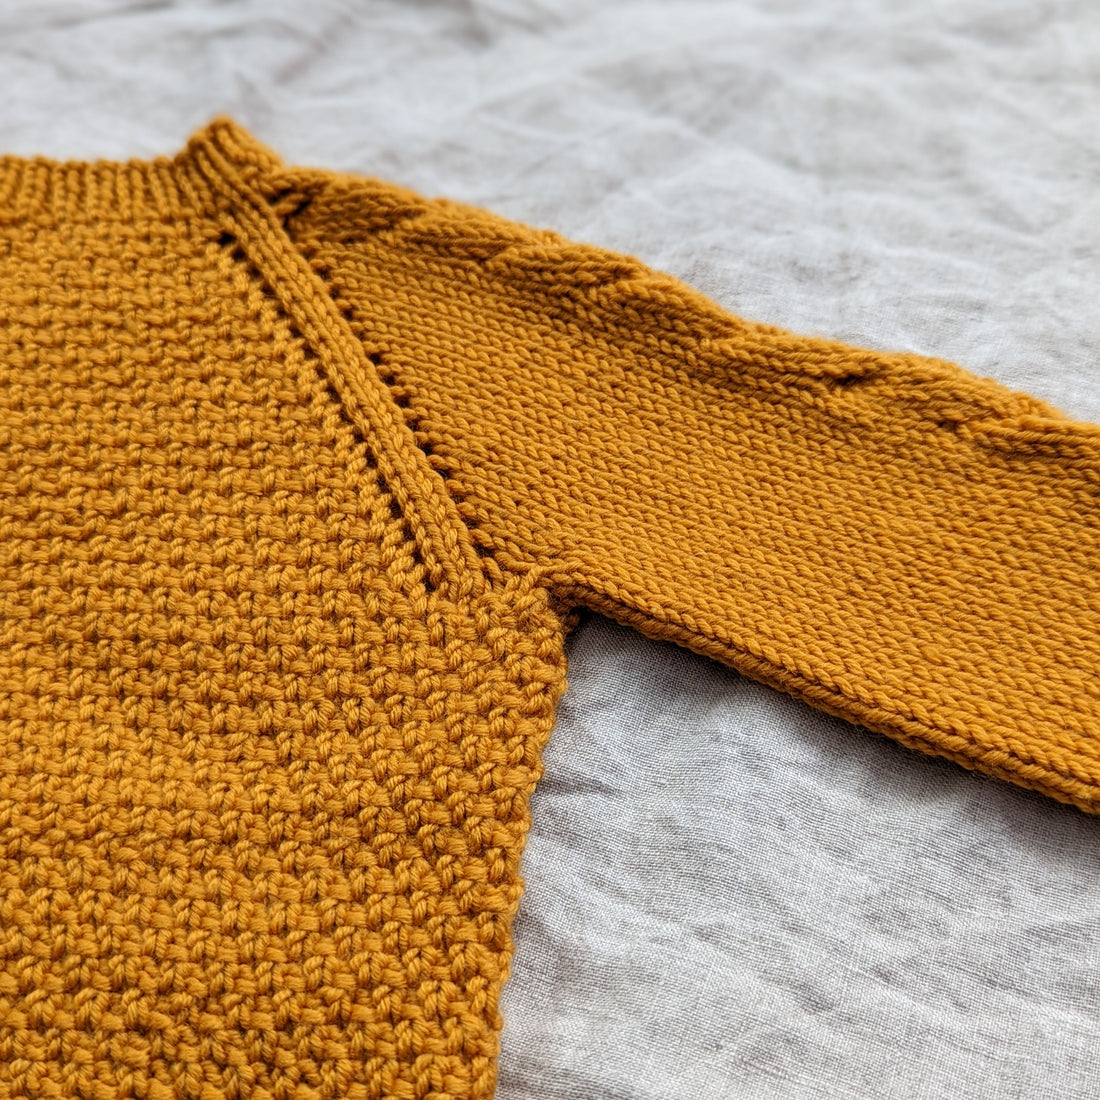
The model in these pictures is our children's jacket Mouk .
Step 1: The body is knitted, the shoulder stitches are still on the stitch holder.

Step 2: The shoulder stitches are on the needle, the stitches under the arm have been picked up.

Here we first put the shoulder stitches from the stitch holder back onto the circular knitting needle (alternatively, of course, you can use double pointed needles). When dividing the body and sleeves, we cast on five new stitches. We have now picked up five new stitches from this, which will form the sleeve with the shoulder stitches. Here you can clearly see the holes that form on both sides between the shoulder stitches and the new stitches. If you just keep knitting now, you will have big holes in these places later.
Step 3: Extra stitches in the transitions

To avoid these holes, we simply pick up an extra stitch from the "Never Land" between old and new stitches on each side - and not exactly in the middle (then you run the risk of having two small holes instead of one big one) , but rather right next to the new or the old stitches - here we picked up the 2 stitches right next to the new stitches picked up, so there are now 7 stitches under the sleeve, not 5 as indicated in the pattern.
4th step: The extra stitches are knitted together with the next ones
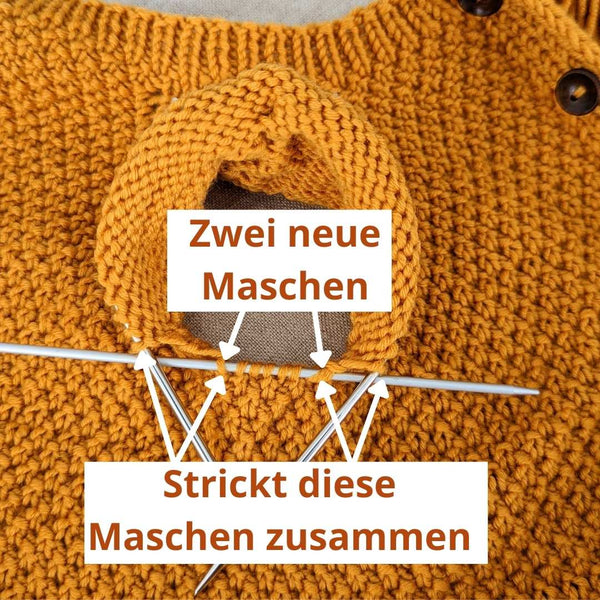
These extra stitches are knitted together with the stitches next to them right on the first round so that you get back the original number of stitches - not with the closer stitch (in this case the underarm stitch on the straight needle), but with the stitch that is further away - here is the first stitch on the circular knitting needle. The first picture shows all stitches on two needles for a better overview. When you start the round it will look like this:

For the first round, place the stitches under your arm on circular knitting needles or double pointed needles. The round starts in the middle under the arm - since we have 5 stitches under the arm here, there are 3 stitches at the beginning and 2 stitches at the end of the round (if we count the two extra stitches, i.e. 4 stitches at the beginning and 3 stitches at the end the end). In this example you knit the first 3 stitches of the round as normal. The fourth and fifth stitches (ie the extra stitch and the first shoulder stitch) are knitted together. Then you knit the round as normal up to 4 sts before the end of the row. Knit the next 2 stitches together (the last shoulder stitch and the extra stitch) and knit the last 2 stitches normally.
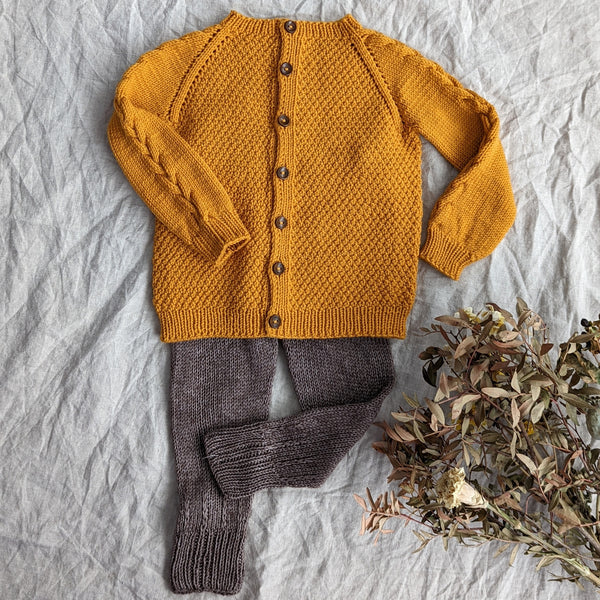
Finished - the sleeve can be knitted further, no holes are visible at the transitions.

At this point you can do a little tricking - if the hole looks particularly large, you can try, for example, to place the newly picked up extra stitch crossed on the needle, this will pull the gap together even better. To be on the safe side, I also leave the end of the thread with which I start the sleeve long enough to be able to darn a hole if it cannot be saved despite all efforts. This happens especially with very loose, airy pieces where the needle size used is larger than recommended for the yarn. Then nothing helps, you simply sew up the holes with the remaining thread.
Incidentally, you can not only use this technique for sleeves - thumbs or heels, which are prepared with an auxiliary thread, can also be knitted hole-free with extra stitches from the transitions. With thumbs, this has the additional advantage that the thumb hole becomes a touch wider in the first round and the thumb fits in better.